
Rockford Cake Smash Photographer
HOW I MAKE CUT OUTS FOR MY ROCKFORD IL CAKE SMASH SESSIONS
A Guide For Photographers
Cake smash sessions are full of joy, mess, and personality — and having the right props can really elevate the whole look. One of my favorite ways to add a custom touch is by creating themed cutouts that tie the setup together beautifully. No matter the theme my clients choose, these lightweight cutouts are perfect for adding visual interest without overwhelming the scene.
This method is great if you’re just starting out and don’t want to invest in a bunch of specialty tools — or if you’re simply looking for a safer, cleaner alternative to using hot foam cutters In this post, I’ll walk you through exactly how I make my cutouts — step by step — using safe, easy-to-find materials (no hot foam tools or toxic fumes here!). I’ll also link the specific products I use from Amazon, so you can get started with confidence and avoid the trial-and-error phase I went through. As an Amazon Associate, I earn from qualifying purchases at no extra cost to you. I only share products I truly use and love.
What You'll Need:
Before we jump into the how-to, here’s a quick list of the materials I use to make my custom cutouts. These are simple, budget-friendly supplies that are easy to find — I’ve linked everything from Amazon to make it even easier for you to get started!
Foam Boards
Look for lightweight, sturdy foam boards — the ones I have currently are from Home Depot, but these are great too. For me, the giant foam insulation boards that many photographers get are unnecessary. These are thick enough to do the job, but thin enough to store easily.
(Find them here)X-Acto Knife or Precision Craft Knife
A sharp blade is key for clean, smooth cuts. Be sure to protect your surfaces! You could pick up a cutting mat, but I actually just place another piece of foam below the one I’m working on to protect my floor. I usually hold the foam upright when cutting anyway.
(Find them here)Spray Adhesive or Hot Glue Gun
Both work great — I use both depending on what kind of cut outs I’m making.
(Find them here & here)Glue Dots
Perfect for attaching your cutouts to your backdrop or directly onto balloons, arches, etc. (Another reason I prefer the lighter weight foam — glue dots are strong enough to hold them in place!)
(Find them here)
Step 1: Create Your Design Mockup
Before you start cutting foam, it helps to have a visual plan.
I always start by creating a mockup of my cake smash set up design in Canva, which gives you access to a huge library of clip art and design elements. If you don’t have Canva Pro, don’t worry — you can still upload your own graphics, or head over to Etsy and purchase specific clip art to match your cake smash theme.

After I create a mockup of my backdrop design, I create a new project in Canva with a custom size — usually either 2x6 feet or 2x8 feet, depending on the size of the banner I’m printing (more on this later.)
Copy/ paste the clip art or graphics from your mockup, and resize them to match the cutout size you want to print. Be sure to turn on rulers and guides in Canva (you’ll find this under the “File” menu). This helps you resize elements accurately.
Download your Canva design as a jpg — this will become your printable template.

Step 2: Print Your Design
I personally use Walgreens for this part — it’s quick, easy, and they offer a banner printing option that works perfectly with the custom sizes I design in Canva. (You can definitely print elsewhere, but this is what’s worked well for me!)

Here’s how I do it:
Head to Walgreens Photo and select "Banner Prints."
Choose the banner size that matches the exact dimensions of your Canva project (I do 2x6 or 2x8)
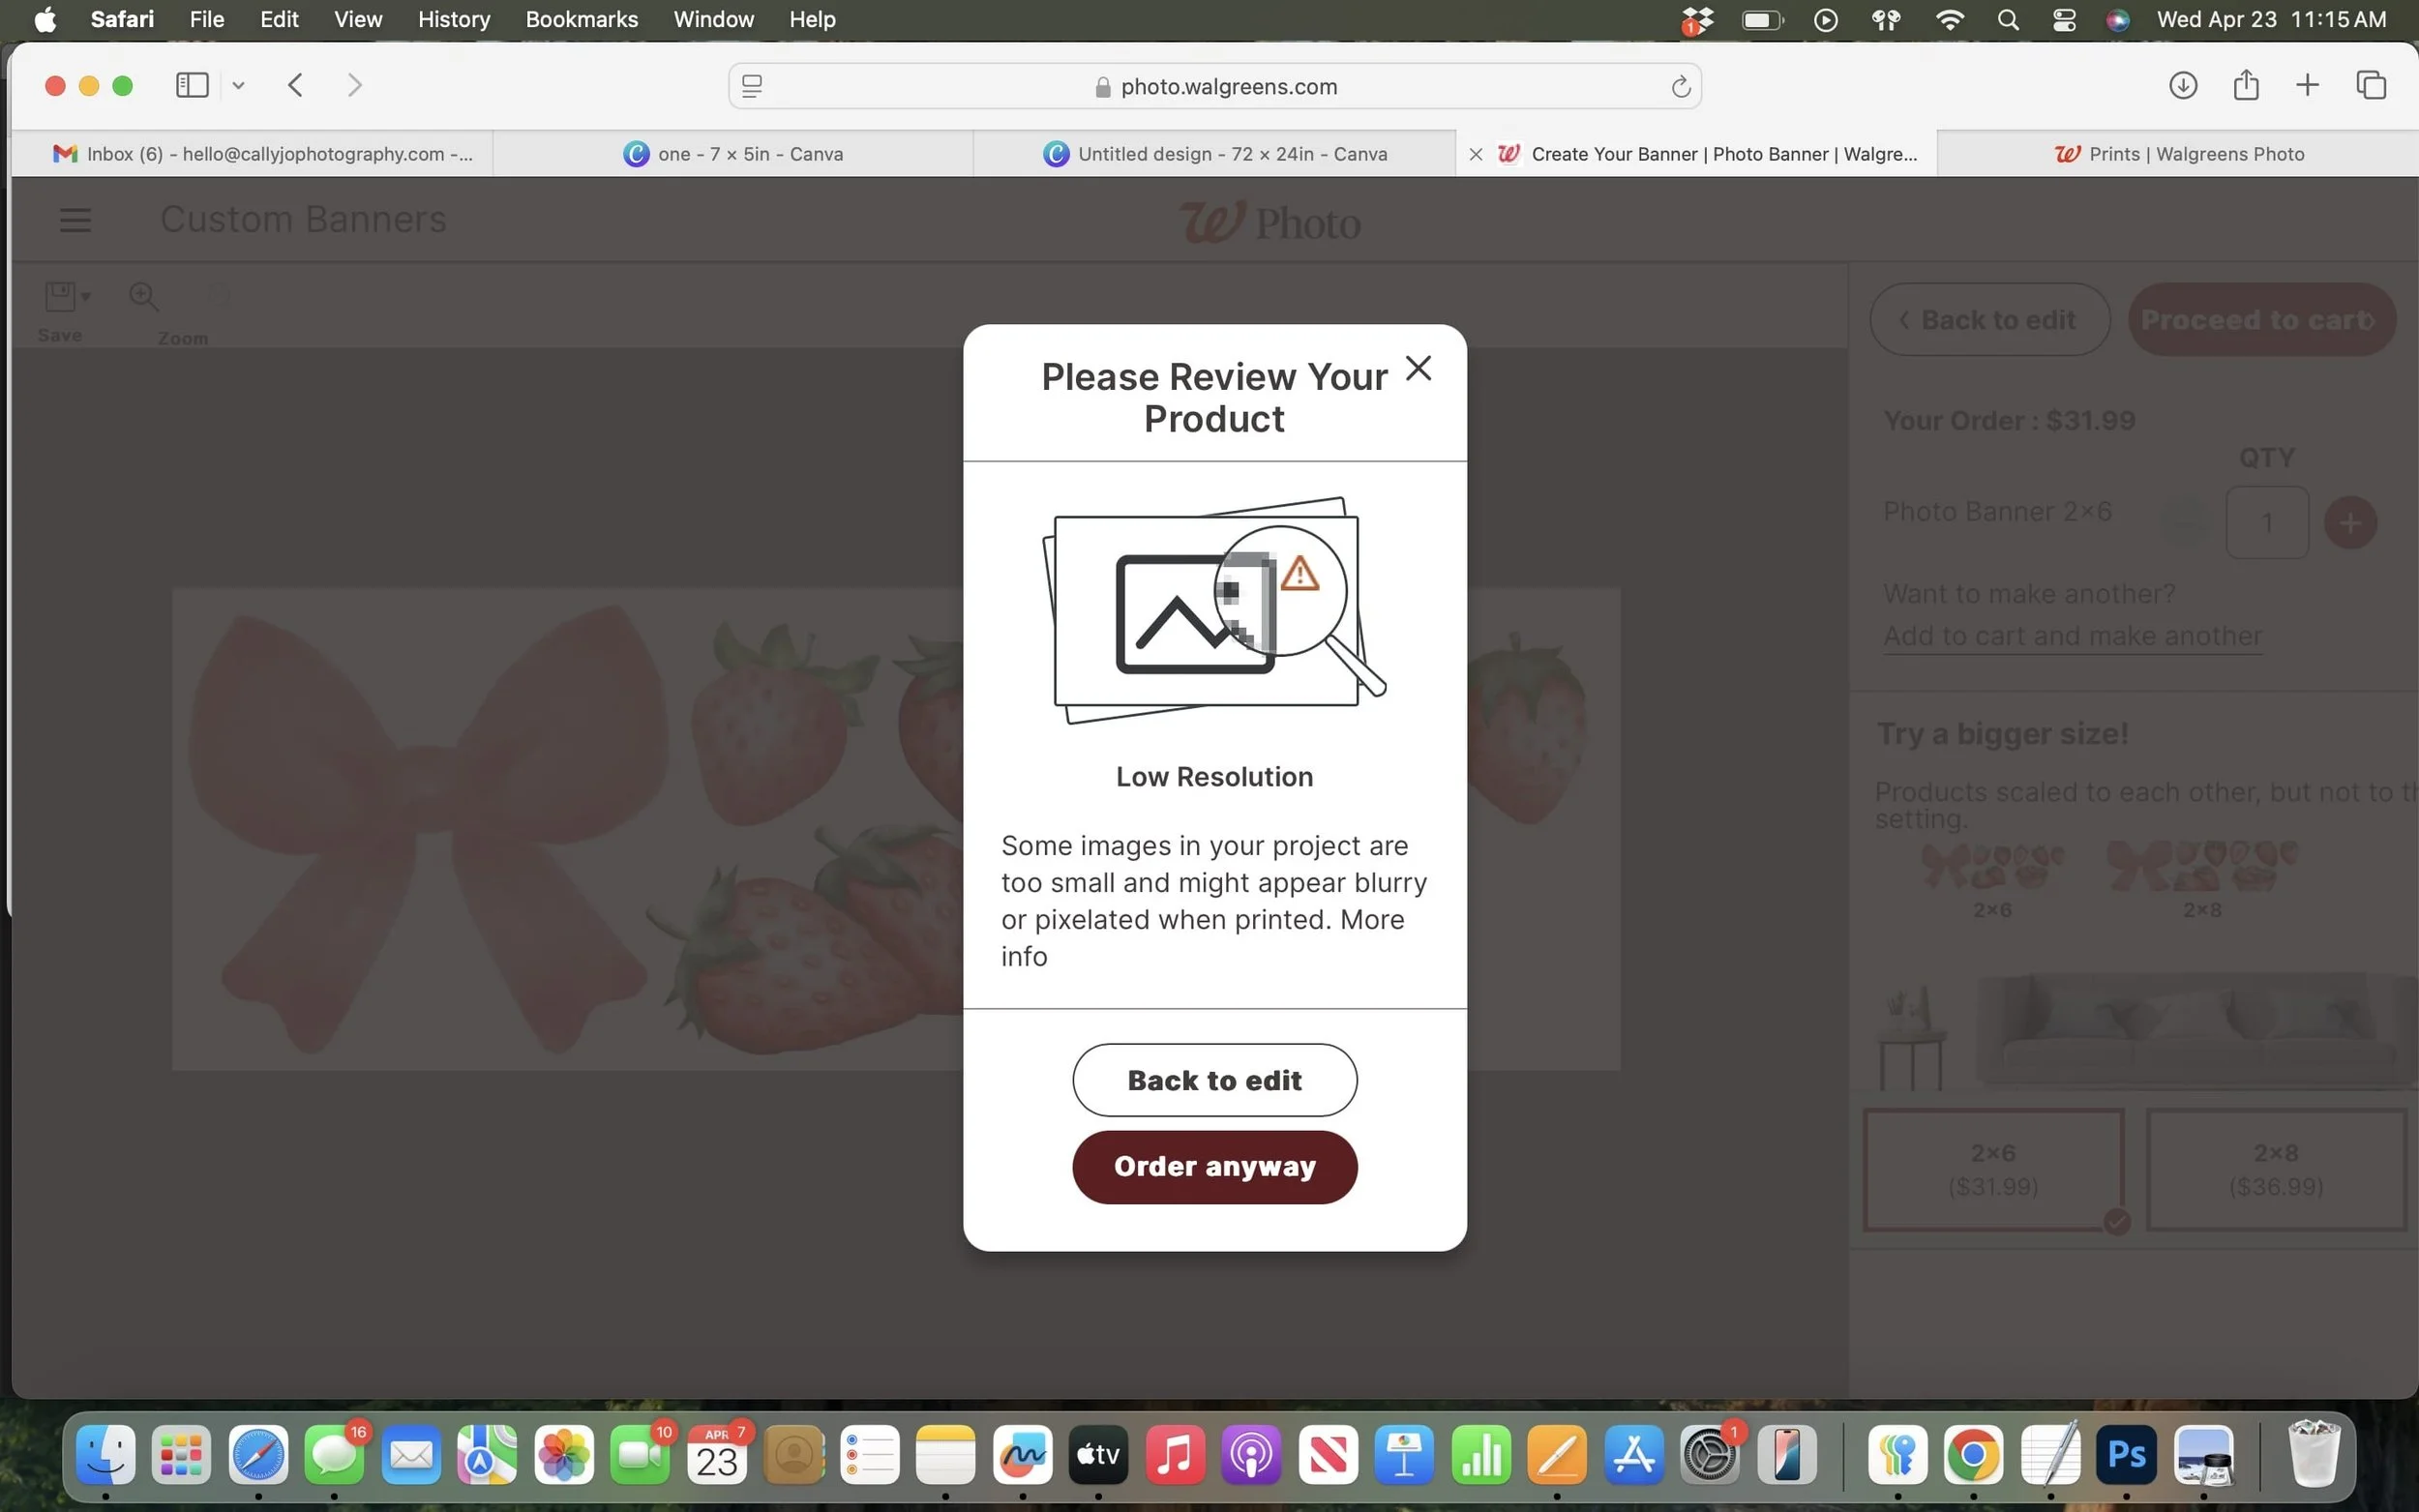
Click “Upload Your Own Design” and upload the image file you downloaded from Canva. You may get a “low resolution” warning, but I’ve never had a problem when following these steps.
Make sure to choose the "Satin Paper" option — You don’t want anything glossy as your light will reflect off of it!
Don’t forget to look for a coupon! This is one of the reasons I love using Walgreens — they almost always have a promo code for at least 40–50% off prints. Just do a quick search or check their homepage before you order.
Step 3: Attach & Cut Your Design
Once you’ve picked up your banner print, it’s time to get it onto the foam board.
You don’t need to fully cut out the shapes from the banner just yet (another perk to doing it this way!) I usually do a rough cut around each design — just enough to make sure everything will fit on the foam before gluing it down.
Here’s what I do:
Roughly trim around each design on the banner with scissors.
Lay them out on the foam board to make sure everything fits.
Use either spray adhesive or a hot glue gun to attach the trimmed designs directly onto the foam. I recommend working in small sections so nothing dries before you're ready. Apply the glue directly to the foam to avoid damaging your cut out images. If you use the spray adhesive, a little goes a long way. If you use too much it will soak through the poster when you attach it, which can damage the print.
Once they’re glued on and secure, use your X-Acto knife to carefully cut around the edges of the design. The blade will go through the paper and foam at the same time — no need to trace or double cut! This part does take some time. However, I still think it’s faster than using the hot foam cutter (for this method you have to precut the poster, then use the hot tool to cut again once it’s on the foam!) Tip: angle the knife inwards slightly to avoid seeing the foam around the edges.
Step 4: Use Your Cutouts
Now for the fun part — styling your cutouts in the actual cake smash setup!
Once everything is cut out and ready to go, it’s time to attach them to your backdrop. I use glue dots for this — they’re strong enough to hold the foam in place but gentle enough not to ruin your backdrop.
Here’s how I use them:
To attach to balloons: place a couple glue dots on the back of the cutout and gently press it onto the balloon garland. It holds really well and is possible to reposition if needed. If you need to reposition a cut out, just do so slowly and carefully. If you pull too hard at the glue dot, the balloon may pop!
To attach to a fabric or paper backdrop: same idea — just add glue dots to the back and press firmly onto the backdrop.

Berry First Birthday Cake Smash — Image by Cally Jo Photography
I hope this guide helps you feel more confident creating your own custom cutouts for cake smash sessions! When I first started, I remember feeling totally lost — I had no idea how other photographers were making these and couldn’t find a clear tutorial anywhere. It took a lot of trial and error to figure out a method that worked well (and safely) for me, and I’m so happy to share what I’ve learned with you. If you give it a try, I’d love to see what you create — feel free to tag me or drop a comment with your results or questions. And if you’ve found your own favorite tips or tools, share them too — we’re all learning together 🤍
Interested in seeing more of my work?